Wednesday, June 26, 2013

Guest Post: More Washi Tape Fun!

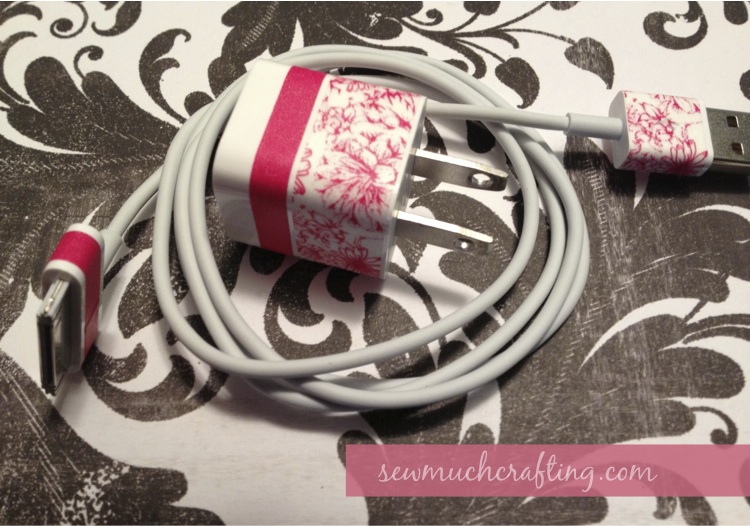
One of the best things about blogging is the kind and supportive community. I have met talented bloggers from all over! Danielle, from Sew Much Crafting is one of my new friends from South of the Border. I absolutely love how she used washi tape to deck out her iPhone cable. Enjoy!

Let me first thank Leanne for the opportunity to share this fun project with y'all! I'm Danielle, and I blog over at Sew Much Crafting. I'm a stay at home wife and servant of Christ! My sweetie and I have been married for three years. We love turning life into an adventure... Why not?! I share crafts, organization and money saving tips, sewing projects, and pictures from everyday life.


Here's a fun and simple little project for you! My readers know I'm a washi tape addict fanatic... It's so versatile and fun. And this DIY project is no different!

This idea originally came from Pinterest. My hubby and I have three wall chargers for our Apple devices... I decided to revamp one of them {and since I already had the washi tape, this didn't cost me a dime}!

I accidentally cut one of the pieces too short, so I added it to the spacebar on my laptop. Ignore the dirt all over my keyboard! Ha.

Just in case you're wondering, I left the tape on my spacebar
for a few months before I decided to change it...

Thanks again, Leanne for having me!!

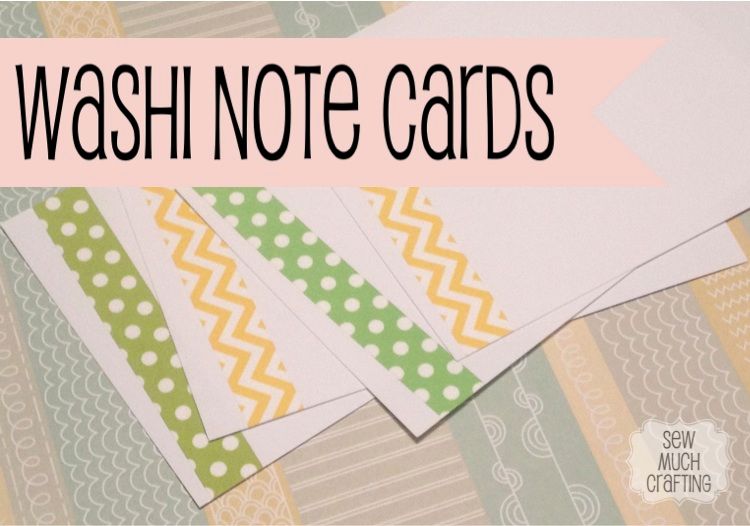
Like this post? Check out these other great washi tape projects!
Photobucket Photobucket

You can find me on
Facebook | Twitter | Google+ | PinterestInstagram | Bloglovin'


Tuesday, June 25, 2013

*#%* My Three Year Old Says...

The other day, while walking into our neighbourhood YMCA, Andrew ran ahead to check out what was happening in the large indoor pool. He turned from the glass window and frantically yelled across the lobby...

"Oh no Mommy! Look at all those Grandmas! They fell into the pool!"

Of course, the aqua fit class was taking place and there were at least 20 little white haired ladies bobbing about in the water. Needless to say we got a few snickers from the crowd!


Wednesday, June 19, 2013

Guest Post: Beach Bag Gift Idea

Hello! I hope everyone is having a great time and enjoying the beautiful weather! Today, Megan from "Our Pinteresting Family" is stopping by to share a simple gift idea that would be perfect for anyone who loves a good trip to the beach! Thanks for sharing Megan!


I wanted to create a cute gift for my mom just because. She is headed down south to the beach soon and I thought I'd put together a new beach bag for her.  I picked this bag up in my favorite spot the Target Dollar Spot last summer for $2.  I took some leftover fabric and made some simple rosettes and glued them to the bag.


I filled the bag with some beach related goodies including a new towel, water bottle and of course sunscreen.

Here is the bag filled with the goodies.  There are many ways in which this bag can be used or filled with. I hope Target has something similar to this bag this year.


Wednesday, June 12, 2013

Guest Post: Bottle Cap Stamps

The next few weeks are going to be super busy and a little stressful in the Leeper house. My husband will be starting a fellowship in Baltimore next month and we will be pretty consumed with getting him packed up and shipped off! We have also planned a family vacation for the first few weeks of July, which means crafting and blogging will be taking a bit of a backseat for a little while. However, I do plan to check in once a week or so with a post. I am also happy to say that some of my blogging friends have offered to share some of their posts! Here is the first one! Thanks for sharing Chelsea!


Hello there! Chelsea with a bushel 'n' a peck here and it is my pleasure to be guest posting here at ...AND AWAY WE GO! Leanne was so gracious to invite me to share this fun, inexpensive kiddo activity that is a favorite in our house.

So for those that don't know my oldest daughter (3) doesn't attend day care. We are fortunate enough to have work schedules that allow us (my husband for the most part) to be home with our little ones. So in an effort to try and keep her engaged we try new little artsy things to do.

While trying new things is great it can also cost a lot of money. It takes little to no time at all to take a trip to Hobby Lobby or Michaels and spend a fortune. So thanks to many a Pinterest pinners I have been able to get ideas for our arts and crafts. This day was bottle cap stamps.


Gather your supplies. In our case it only cost us $1. We started to collect bottle caps, have plenty of paint and paper, only needed the foam stickers.


Start by sticking a variety of stickers onto the flat side of bottle caps.


To apply the paint you can either allow your kiddo to stamp into some paint or apply some paint with a paint brush. I applied for my little one (at the time 2) and allowed her to stamp.


My foam stickers were different forms of transportation so as we stamped we talked all about the modes of transportation and the color we were stamping. She loved it!


How easy was that? Well the little one doesn't know, all they know was they got to stamp to their heart's content. She didn't quite understand stamping and pressure but I think did pretty well for her age. This was a fun activity that we will do again.


What a fabulous idea!  Here are some other great posts from  a bushel 'n' a peck


Monday, June 10, 2013

Cake Batter S'more Cookies

Recently, while cleaning out my pantry, I realized that I had way too many cake mixes. There must have been a sale on at some point, because I had six boxes of various flavours! I have been messing around with cake decorating for a few years now, but there are only so many events that can justify the time (and calories) that go into a full blown fancy cake!

I have seen a number of different recipes that utilize cake batter as the beginning of a great dessert. I made Mini Egg Blondies using cake batter for Easter this year, and they were a major hit. So, I thought I would tweak the basic "Cake Batter Cookie" recipe and come up with something tasty for summer!

cake batter s'more cookies

This recipe was super easy, it took about five minutes to mix and ten minutes to bake. The results were amazing... chewy, gooey goodness! A fabulous treat for a cookout or camping trip!

Cake Batter S'more Cookies

1 chocolate cake mix
2 eggs
1/2 cup (or less) of oil
1/2 cup semi sweet chocolate chips
1/2 cup mini marshmallows
1/2 cup crumbled (not crushed) graham crackers

Combine cake mix, eggs and oil until somewhat smooth, fold in chocolate chips, marshmallows and graham crackers. Drop by the spoonful onto an ungreased baking sheet. Bake at 350ÂșC for 10 - 12 minutes, cookies will still be quite soft. Allow the cookies to cool for a few minutes before removing from the cookie sheet to cool completely on a cooling rack. That's it! So easy!

cake batter cookies

cake batter cookies